How do I Style my Bookshelves?
Setting a bookshelf should be easy right? You just put your books up and you know stuff…
In the age of Ipads, e-readers, and Kindles very few people have the beautiful collection of hardback matching book sets you can easily place on a beautiful shelf. Realistically most homes and home decor have some sort of shelf or built in where you need to place….something! If I am being honest, I really just have fun moving things around and rearranging, but I often get asked by clients how to do this? What should go where?
I wanted to break it down a little more and give you some guidelines that I normally follow without even really realizing I am doing them!
Step One: Clear off those Shelves
Give them a good dusting! Who knows how long it has been since they had this! Gathering all of your items in one area will help you see what you have to work with and what needs to go!

Step Two: Organize your items.
From here I remove things I no longer like in this space and I group my items together by category:

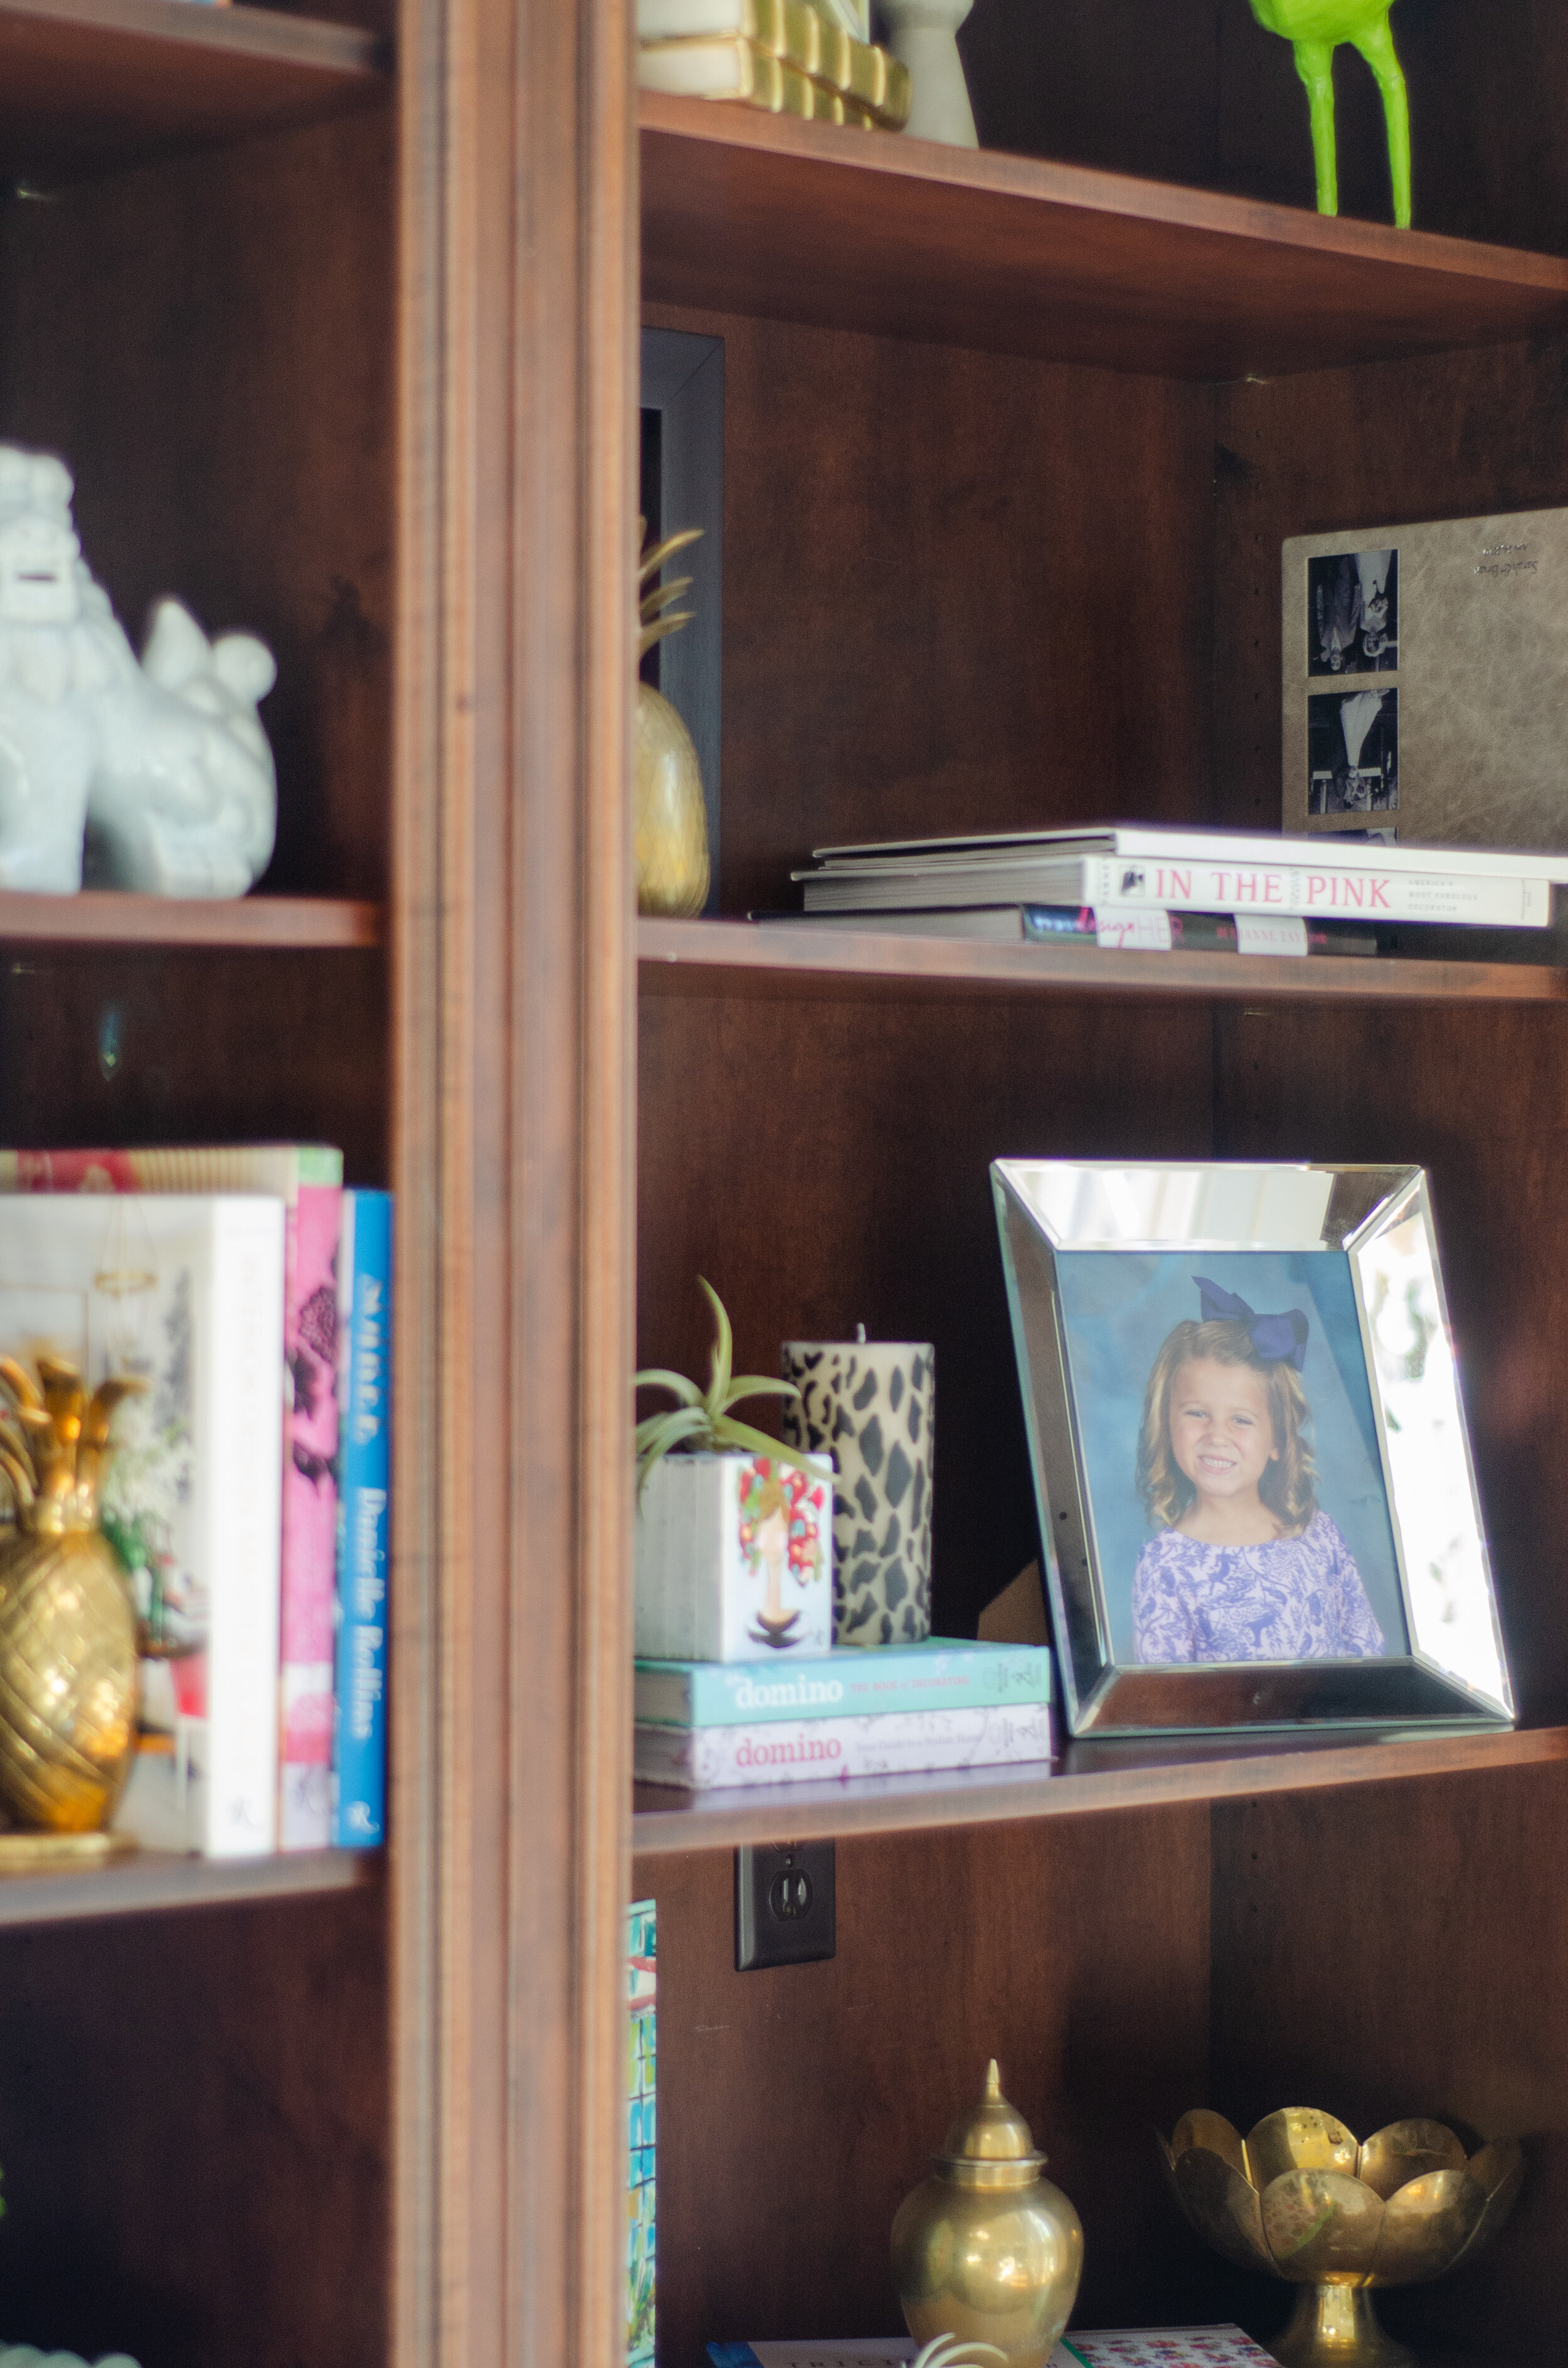
Books (of course!) This category can involve books, magazines, photo albums, yearbooks, and ane of reading material that either looks good, or says something about you! When placing your books forget the old ways of stacking vertically one after another. Play around with different placement depths and angles. Also work with color or pattern mixing of these books to make them work with your design esthetic.

Plants- that’s right, you need to add a little life into your shelves! Even if that life is, well, not alive fake plants are acceptable! (Quick Tip: the less real they appear the higher on the self they go!) I prefer real plants that thrive on shelves and don’t take too much upkeep! Air plants are a great way to add life without being too concerned with upkeep!

Photography/Artwork- Visual interest should be added by family photos, favorite paintings, beaches you hope to travel to, etc.
Mix and match frames, color and black and white photos to add interest! This is a perfect time to get the current school pictures out, or search your phone for recent favorites! Updating which pictures are displayed is always a quick and inexpensive décor update.
I love that original art has not only become affordable, but pocket (or shelf) size as well! Hanging or placing original artwork on your shelves shows your style, or at least some of your personality.
Accessorize!!- for me, this is the fun part! Nothing goes on these shelves that I don’t love and adore! I fashion these shelves as a reflection of special moments. Utilizing items from my travels, or maybe just an item I found that puts a smile on my face and makes me laugh out loud! Colorful plates, patterned candles, antiques from our grandparents homes and kitschy home accents can all be found on my shelves!
Step 3: Start placing your items!
Now that you have all of your items gathered you need to figure out HOW to place the items on the shelves!
The advice I have for making your shelves look professionally styled is layering. Make sure that on every shelf there are different heights and depths. The same height or depth all the way across is not pleasing to the eye. Make sure your shelves are layered front to back and top to bottom!
For the best results ensure 2-3 of the above categories are represented on every shelf.
Step 4: Fill in
You do not need to purchase all new items when styling your shelves. Using a lot of the same items in different ways can give a completely different look. I do try to always use what the clients or I have in my own home, but shuffle things from room to room. After I have pulled from other areas in the house I try to find one or two new shiny items that add to my excitement every time I look at the newly styled shelves!
“While my bookshelves are not full of fairy tales, they do tell the story of my family! ”